
Table of Contents:
1. Introduction
2. What is Sod and Why Should You Care for It?
3. Preparing Your Sod and Your Yard for Installation
4. Laying it Over an Existing Lawn vs. Topsoil on a New Yard
5. The Right Way and the Wrong Way to Install it
6. Watering Your New Lawn
7. Mowing and Fertilizing
8. Keeping It Healthy
9. Common Problems and How to Fix Them
10. How Long Should You Expect Before It's Party-Ready?
11. Best Time of Year to install
12. Different Types: Pros and Cons
13. Key Benefits
14. Why Not Go With Grass Seed?
15. Hiring a Contractor vs. DIY
16. Best Places to Purchase
17. Budgeting for Your New Lawn
18. Conclusion
1. Introduction:
So, you've decided to give your yard a makeover, and after considerable pondering, you’ve landed on the idea of installing sod. A simply brilliant decision, if we may say so! The instant gratification of rolling out a green carpet of grass over your dirt patch is less of a waiting game and more of a “voilà!” moment. However, with great turf comes responsibility (and a high likelihood of your neighbor’s envy).
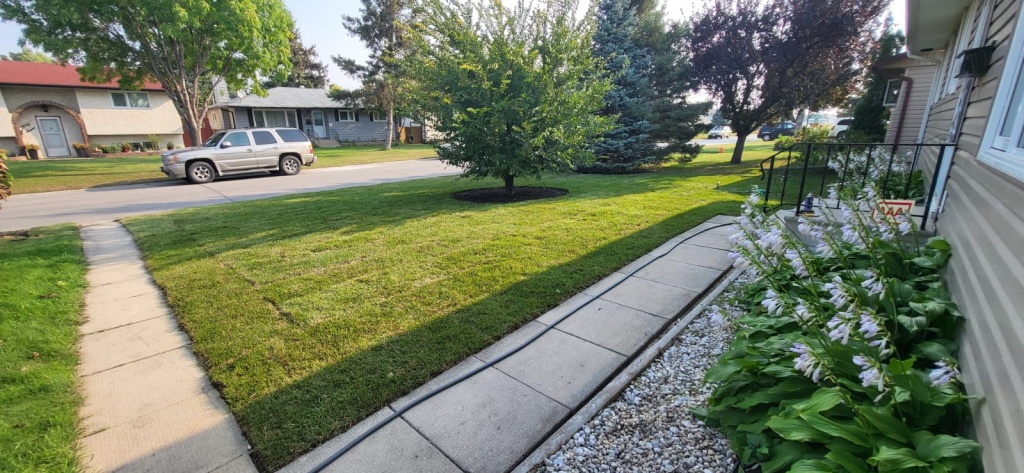
Now, if you’re scratching your head at the thought of starting this venture, worry not! Whether you’re a young homeowner looking to impress your friends with your lush new lawn during summer BBQs or a seasoned property manager aiming to elevate your commercial spaces, this guide to landscaping and yard maintenance in Winnipeg is your treasure map. Your journey through sod care will be filled with essential steps, helpful tips, and maybe even a chuckle or two.
From the moment those rolls of grass touch your soil to the point where your friends are complimenting your transformed space, we’re here to help. We’ll walk you through the ins and outs—from preparation to potential pitfalls. And hey, you might even discover that maintaining that gorgeous lawn is nearly as enjoyable as flaunting it! So, let’s dive into the lush and green world of caring for your new lawn.
2. What is It and Why Should You Care for It?
Understanding what sod actually is can’t be undersold in the realm of yard maintenance. Technically speaking, it's simply a layer of soil held together by grass roots and a thick mat of turf. Think of it as fast food for your lawn—ready to eat right after installation. Your thick mat of turf will mature into a robust root system that can sustain the harsh Winnipeg weather, provided you give it the love and care it deserves.
Benefits:
1. Instant Results: You don’t have to wait for grass to sprout; this option offers immediate beauty.
2. Minimised Soil Erosion: It stabilizes the soil, preventing run-off during heavy rains.
3. Weed Prevention: Healthy sod can outcompete many common weeds.
4. Play-Friendly Surface: Perfect for those spontaneous backyard sports tournaments!
5. Increased Property Value: A lush lawn enhances curb appeal and can increase your home’s worth.
Simply put, caring for your new grass is as basic as feeding and watering it. A little attention now saves a lot of headaches down the road!
3. Preparing for Installation:
Prepping your yard might sound like painstaking work, but consider it a rite of passage into the glorious life of lawn ownership. It’s imperative to create the best possible environment for your new turf to thrive. Here’s how:
1. Clear the Area
Start by removing any existing grass, weeds, and debris. You can use a turf cutter, shovel, or even a good old-fashioned rake, depending on the size of the area and your comfort level.
2. Soil Testing

You’d want to check the pH level of your soil. Ideally, grass prefers a slightly acidic to neutral pH (between 6.0 and 7.0). Local garden centres and extension offices often provide soil testing kits that give you a clear reading.
3. Adding Soil Amendments

After testing, you may need to add lime or sulfur to adjust pH, and compost or fertilizer to enhance nutrient availability. Your yard maintenance in Winnipeg-style will be markedly easier if you set your new lawn up for success from the very start.
4. Tilling
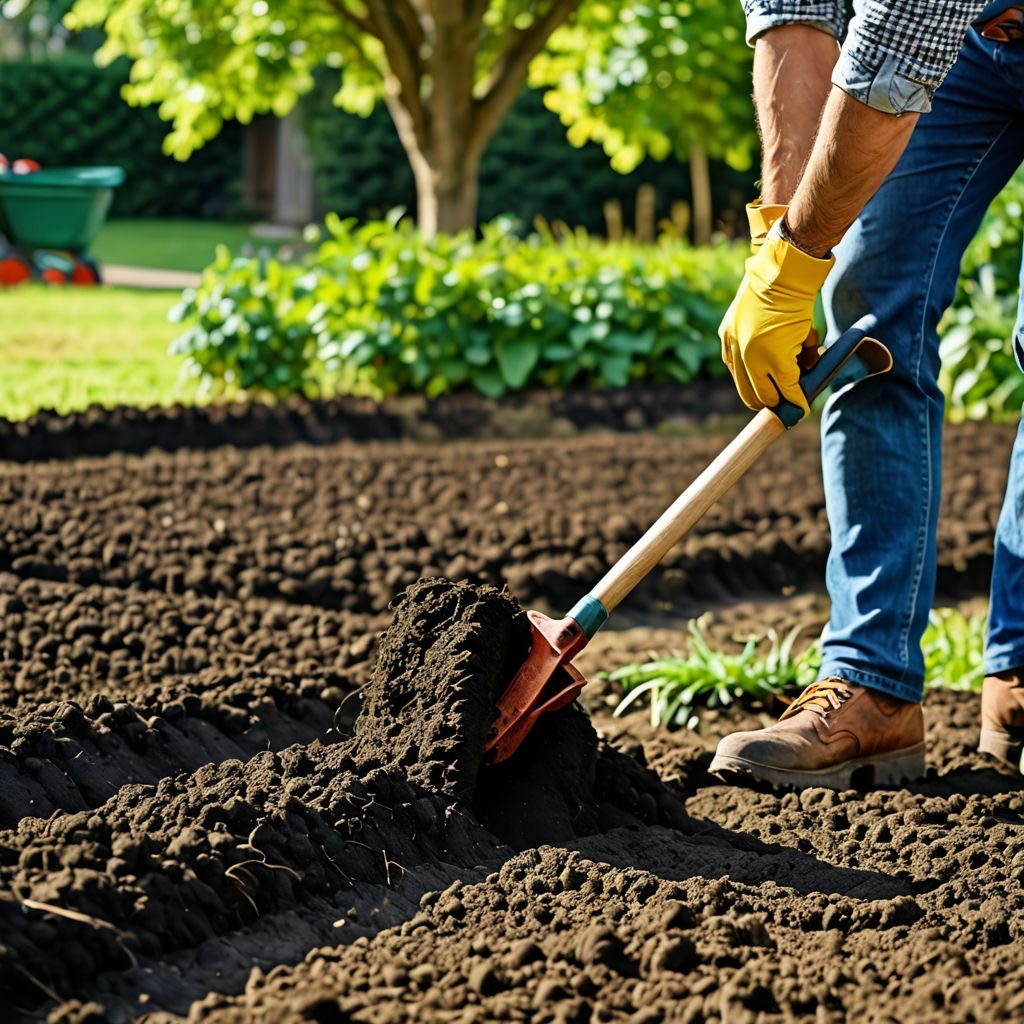
Loosen the top 4-6 inches of soil to create a welcoming home for your new grass. Don’t forget to break up any large clumps; you want a smooth surface with the texture of cake batter—crumbly yet cohesive.
5. Rake and Level
Finally, bring out the rake for a final leveling. Aim for a gentle slope away from buildings to help with drainage. Now you’re ready for the main event!
4. Laying Sod Over an Existing Lawn vs. Topsoil on a New Yard
This is where the rubber meets the road (or more accurately, where the grass meets the dirt). You may be wondering if laying your thick mat of turf over an existing lawn is a good idea. The answer? It depends!
Experience Level:
If you’re a seasoned lawn warrior, you might opt for laying it right on top of your existing grass. However, it's wise to ensure that the foundation is still healthy and not choking under the weight of weeds. Just remember to:
1. Mow First: Keep the existing lawn short to help the new grass make contact with the soil.
2. Aerate: Consider aerating the existing lawn to improve soil contact.
3. Water: Pre-water the existing grass to prevent shock.
However, if you’re starting fresh or if your existing lawn has seen better days, it’s best to strip away the old grass entirely and prepare the soil from scratch. This gives the new grass the best chance to root successfully.
Preparation Differences
If you opt to work with a patchy yard, make sure that your prep work aligns with your sod installation method. The extra steps of mowing, aeration, and watering should be considered in your timeline and overall plan.
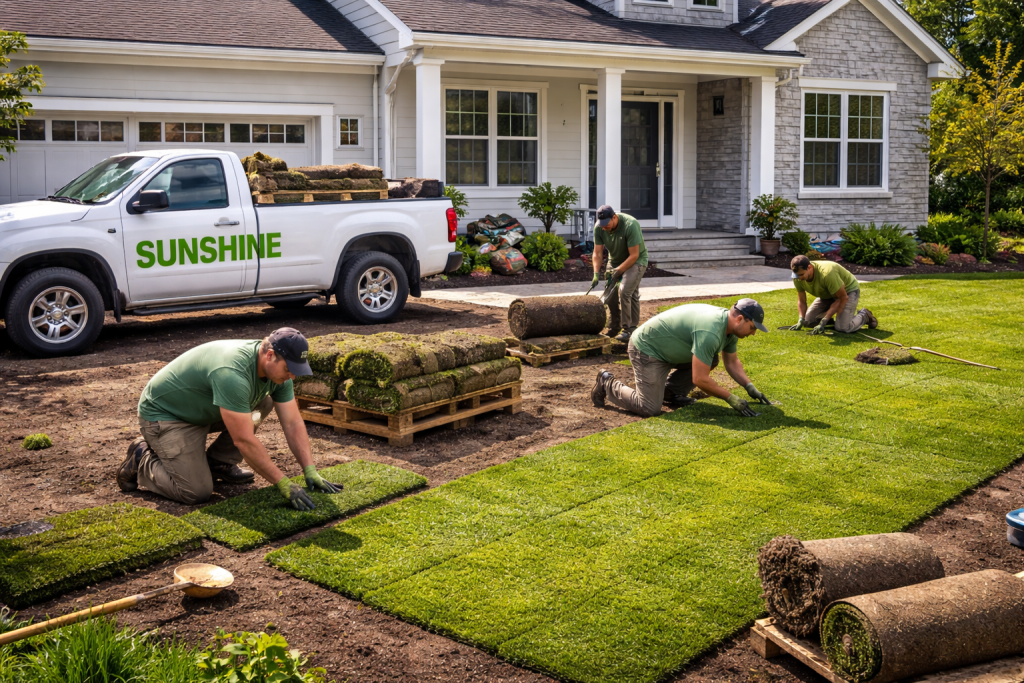
5. The Right Way and the Wrong Way to Install Your Sod
Installing might seem like a picnic, but there are definitely right and wrong methods. Let’s guide you through the perfect installation process so you can avoid rookie mistakes.
The Right Way:
- Lay in Staggered Rows: Much like bricks on a wall, stagger your rows to create a more stable grass bed. This helps with rooting and minimizes seams.
- Start Along Edges: Begin at a straight edge, such as along a driveway or sidewalk, for a more manageable installation (and an aesthetic win). If you can't do this, run a line between stakes along your property line to create a guiding straight edge.
- Press Down: After laying, make sure to press down each piece to eliminate air pockets. You want those roots snug against the soil for optimal growth.
The Wrong Way:
- Ignoring Seams: Overlapping seams are a big no-no. It creates unevenness and can weaken your lawn’s structure.
- Rolling the Grass: While you might think rolling your newly planted turf delivers tight contact, avoid it! Rolling can cause more harm than good by compacting the soil underneath and limiting root growth.
6. Watering Your New Lawn:
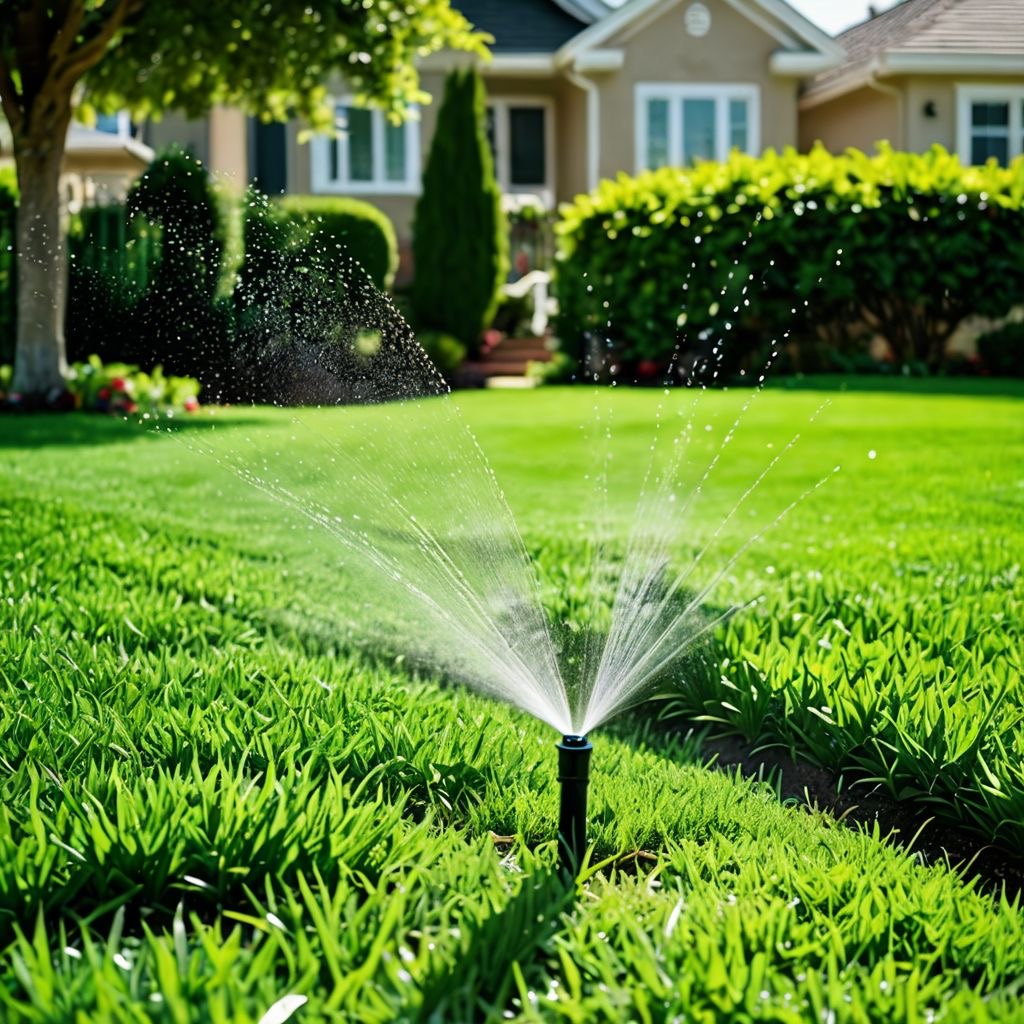
Now that your sod is laid out nice and neat, it’s time to water it like you mean it! This crucial stage can make or break your newly established lawn.
Daily Routine
In the first couple of weeks, your new lawn needs a lot of water. Aim for about 1 to 2 inches of water a week, soaking the area deeply but making sure to avoid soggy soil. Morning watering is ideal, as it allows the grass to dry out throughout the day.
Watch for Signs
Keep an eye out for signs of dehydration, such as:
1. Color Change: Grass can darken a bit as it dries out.
2. Crunch Test: If it crunches like a chip, it’s way too dry!
3. Wilting Tips: The blade tips will curl, much like your own hair on a humid day.
7. Mowing and Fertilizing:
It might be tempting to show off your new lawn with a fresh mow right away but hold your horses! Mowing too early can hinder growth. Wait until your grass reaches about 3-4 inches in height.

Fertilizing at the Right Time
Once your grass has established itself (about 4-6 weeks after installation), it’s time to feed it. Use a nitrogen-rich fertilizer to encourage thick growth. And remember, too much fertilizer can be harmful—more isn’t always merrier!
8. Keeping Your New Lawn Healthy
So, you’ve got a lawn that looks straight out of a magazine; how do you keep it that way? Here are some tried and true tips for maintaining a healthy, vibrant lawn:
1. Regularly Check pH Levels: This goes back to your original soil test. Be vigilant about periodic checks to make sure your soil remains healthy.
2. Stay on Top of Weeds: Pull weeds by hand or use herbicides, but always follow the directions to avoid harming your sod.

3. Keep Soil Aerated: Regularly aerate your lawn to improve nutrient flow to your grass. It also helps with water drainage.
Read more about the role of aeration in lawn care Winnipeg
9. Common Sod Problems and How to Fix Them:
Just like with any living thing, your new lawn can face its share of challenges. Fear not, for knowledge is power! Here are a few common issues you may encounter:
Dry Patches
These patches typically appear due to inconsistent watering. Modify your watering schedule and provide a thorough soaking.
Overwatering
Conversely, too much water can suffocate roots. Investigate your watering habits if your grass appears yellow or mushy.
Weeds Invading
If those pesky invaders emerge, hand-pulling or spot-treating with appropriate herbicides will help keep them at bay.
10. How Long Should You Expect Before It's Party-Ready:
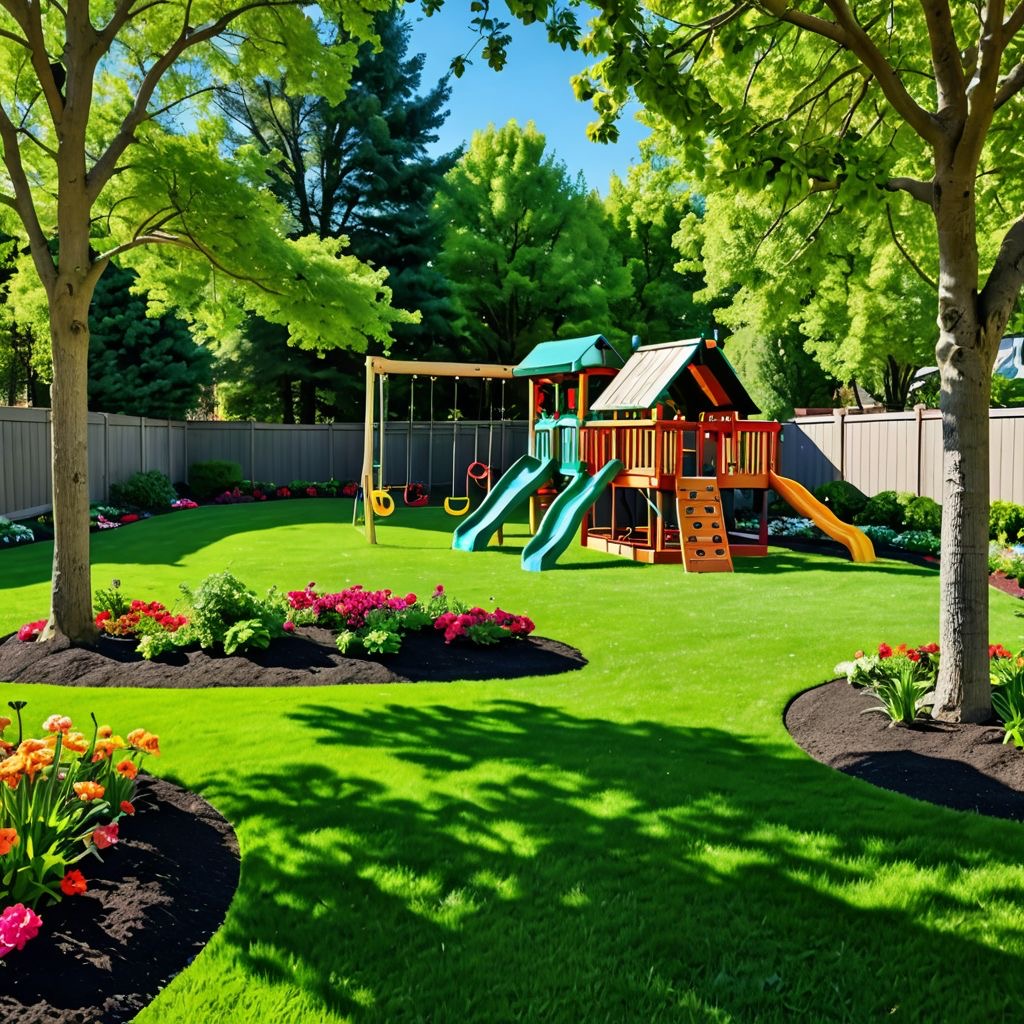
Patience is a virtue, my friend! Depending on various factors, such as the type of grass and weather conditions, your new lawn can take anywhere from two to eight weeks to establish itself. After that, you can start planning that backyard bash!
To determine readiness, look for a few signs:
- Firm footing: When walking on your lawn, it should feel sturdy.
- Growth: Your grass should look lush and bright green.
11. Best Time of Year to Lay your new lawn:
Timing is everything, especially in Winnipeg’s ever-changing climate. The prime time for laying sod is typically early spring (May) or early fall (September). The weather is cooler, so your new grass isn’t battling the peak heat or cold.
Avoid Extreme Temperatures:
It's best not to install during the hottest part of summer. This will give your lawn the best chance to Root before facing the extremes.
12. Different Types of Sod: Pros and Cons:
Now let’s break down the common types of sod you might consider, along with their advantages and disadvantages:
1. Kentucky Bluegrass
- Pros: Gorgeous color, self-spreading, durable
- Cons: Doesn’t handle drought well; requires more maintenance
2. Perennial Ryegrass
- Pros: Fast germination; wear-resistant
- Cons: Short lifespan, often one of the more expensive options
3. Tall Fescue
- Pros: Heat tolerant; drought resistant
- Cons: Coarser texture, may not achieve as lush an appearance
Choosing the right type for your specific needs and conditions in Winnipeg is imperative for long-term success.
13. Key Benefits:
- Instant Aesthetics: Quick transformation for appealing curb appeal.
- Less Erosion: Solid footing against soil run-off.
- Robust Soil Health: Good sod helps support microbial life in the soil.
14. Why Not Grass Seed?
You might be asking yourself: why not just seed? Here are some solid reasons:
1. Immediate Cover: No waiting—it’s instant coverage.
2. Less Competition: Seeds face competition from existing materials; sod doesn’t.
3. Reduced Weeds: Once established it crowds out weeds much more effectively than newly planted seeds.
15. Hiring a Contractor vs. DIY
As with many decisions, hiring a contractor or doing it yourself often comes down to a matter of personal preference. Let’s weigh both sides!

Hiring a Contractor

Pros:
- Experience handling challenges.
- Saves time and energy.
- Provides a warranty on the work.
Cons:
- More expensive (but often worth it).
DIY
Pros:
- Cost-saving.
- A sense of pride in your work!
- Flexible timing.
Cons:
- Potential mistakes could add more cost down the line.
- Requires careful planning and hard work.
16. Best Places to Purchase:
You have options, my friend! Here are some of the best places to purchase sod in Winnipeg:
1. Local Garden centres: They often stock local varieties suited for your area.
2. Lawn Care Companies: Many companies offer high-quality sod and can guide you through your options.
3. Wholesale Suppliers: If you're looking to save money, consider going for bulk sod directly from wholesalers. Just keep an eye on quality!
17. Budgeting for Your New Lawn:
Getting into the nitty-gritty of budgeting is essential. Here’s what to factor in when thinking about your costs:
- Costs: On average, sod costs can range from $0.50 to $2.00 per square foot depending on the type.
- Installation Costs: If hiring a contractor, expect to pay an additional $1.50 to $2.00 per square foot for installation labour.
- Maintenance: Factor in ongoing costs like watering, mowing, and fertilizing.
By carefully planning, you can create the lush lawn of your dreams without breaking the bank.
Your Go-To company for lawn care Winnipeg homeowners trust
18. Conclusion:
Congratulations on making it through this comprehensive guide! From understanding what sod is to knowing how to care for it, you’re now armed with valuable information that will help you make your yard the envy of the block.
Remember, a beautiful lawn requires consistent love and care, so stay committed to your yard maintenance goals. You’ll not only enjoy the psychological benefits of a green sanctuary but also the social perks of backyard gatherings with friends and family.

Investing time in the installation and maintenance of sod is sure to pay off. And whether you’re doing it yourself or hiring a contractor, you’ve got the tools now to make informed decisions about your outdoor spaces.

So kick back on your new lawn, sip that lemonade, and enjoy the green paradise you've cultivated! Here’s to many years of enjoying your beautiful yard!