
Table of Contents:
1. Introduction
2. Why Choose a Raised Garden Bed?
- 2.1 Benefits of Elevated Garden Planting
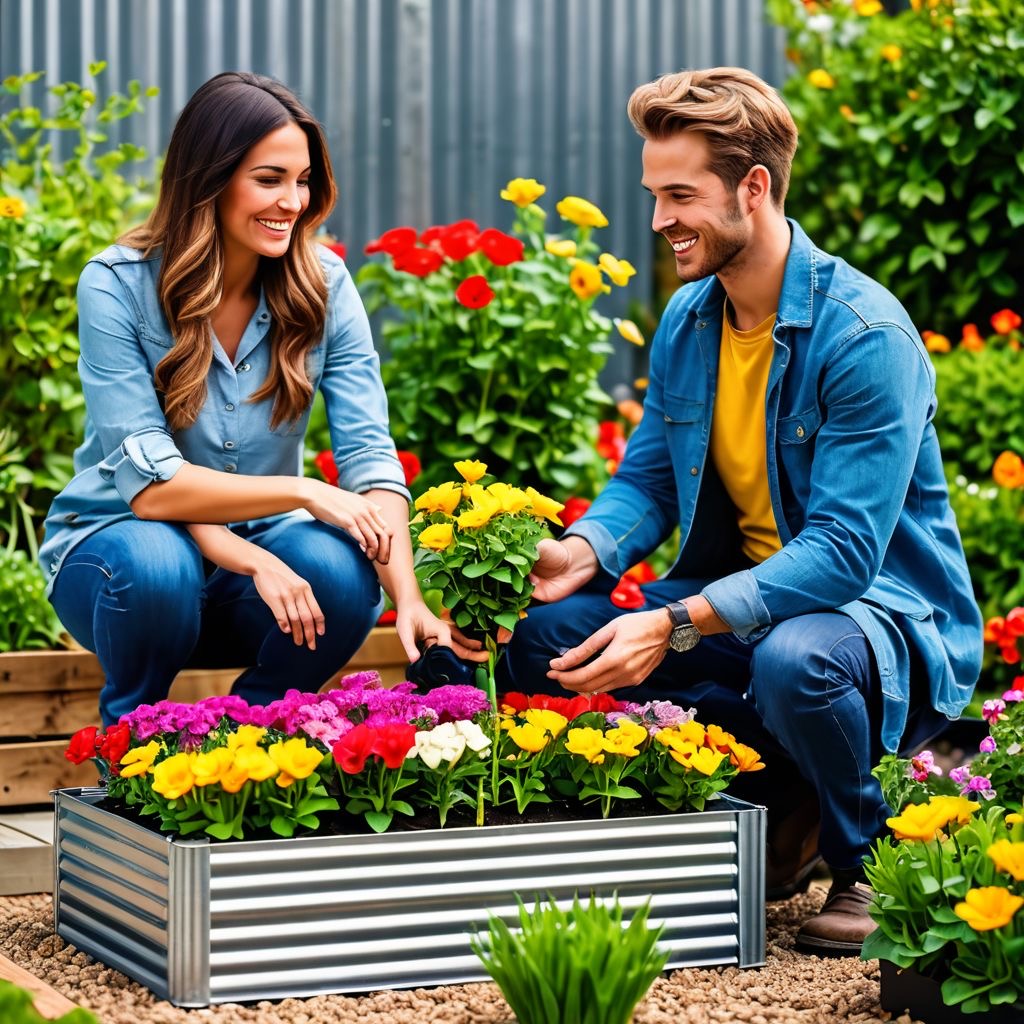
- 2.2 Ideal Plants for Your Winnipeg Raised Beds
3. Choosing the Right Location
- 3.1 Assessing Sunlight Exposure
- 3.2 Drainage Considerations
- 3.3 Proximity to Water
4. Materials Needed for Your Garden Project
- 4.1 Selecting the Right Wood
- 4.2 Additional Material Options
- 4.3 Tools Required
5. Step-by-Step Instructions to Create Your Raised Planter
- 5.1 Planning Your Design
- 5.2 Preparing the Site
- 5.3 Constructing the Frame
- 5.4 Adding Layers of Soil and Compost
- 5.5 Planting Your Seeds or Seedlings
6. Maintaining Your Garden
- 6.1 Watering Techniques
- 6.2 Fertilizing Your Plants
- 6.3 Pest Control Solutions
7. Winter Preparation for Your Elevated Plant Bed
- 7.1 Protecting Plants from Frost
- 7.2 Covering the Bed
8. Conclusion
1.Introduction:
Are you ready to take your gardening game to the next level? If you’re a Winnipeg homeowner looking to create an oasis of blooming flowers, fresh vegetables, or aromatic herbs in your yard, then building an elevated planting bed may just be the perfect project for you! Not only does it add beauty to your landscape, but it also offers practicality and a personal touch to your home garden. Imagine stepping outside to pluck ripe tomatoes for your salad or savoring the fragrance of freshly-cut herbs from a beautiful vegetable, herb or flower garden.
Contact us today for your free estimate.
In this comprehensive guide, we’ll walk you through the funky world of creating these elevated planters. We’ll cover everything—why these stunning structures are great investments, how to choose the best location, selecting materials, and step-by-step instructions to create your own masterpiece.
Worried about our Winnipeg-style climate? Don’t fret; we’ll also discuss how to maintain your project throughout every season!
Elevated planting spaces enhance drainage, improve soil quality, and can be tailored to fit any backyard landscape design. Plus, they’re especially effective for those with mobility challenges—no more bending down to tend to your plants! So grab your gloves, and let’s dig into this gardening adventure that will elevate not just your soil but also your growing experience.

2. Why Choose a Raised Garden Bed?
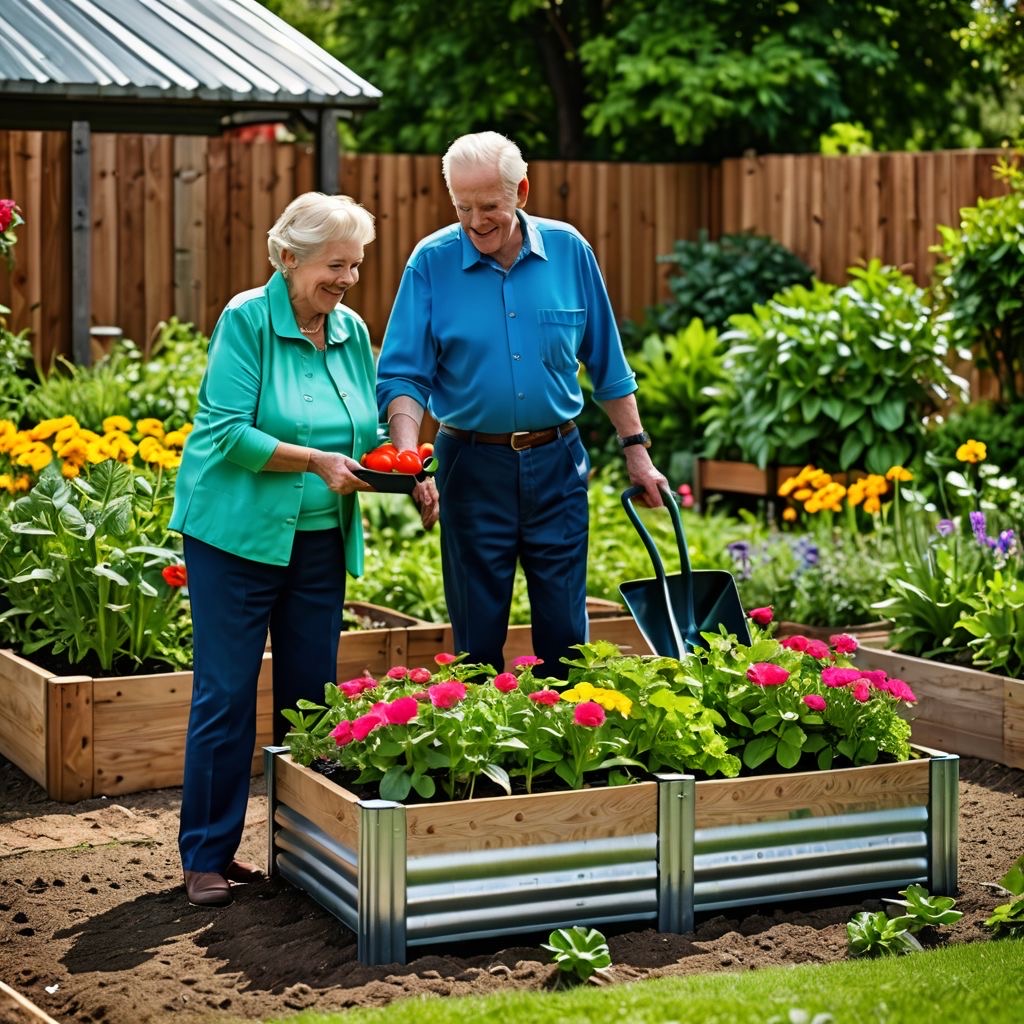
2.1 Benefits of Elevated Garden Planting
Creating an elevated growing space has garnered accolades among horticulturists and casual gardeners alike, and for good reason! Here are just a few perks of this method of planting:
1. Improved Soil Structure: When you have control over the soil composition, you can create the ideal environment for your plants. A mix of topsoil, compost, and organic matter can lead to healthier, more productive yields.
Transform your Winnipeg yard with Sunshine Maintenance & Landscaping
Contact us today for your free estimate.
2. Enhanced Drainage: Winnipeg’s weather can be notoriously fickle, with sudden downpours followed by dry spells. Elevated beds allow excess water to drain easily, preventing root rot and other water-related issues.
3. Easier Maintenance: The elevated height makes it much easier to weed, water, and harvest without straining your back or knees. For busy homeowners, this convenience is invaluable.
4. Extended Growing Season: Raised soils tend to warm up faster in spring and stay warmer later into the fall, allowing you to maximize your growing season and enjoy those longer harvests.
5. Protection Against Pests: Elevated spaces can be easier to protect from certain pests. Build a simple protective cover, and you can keep unwanted critters at bay!
6. Aesthetic Appeal: Elevated planters can serve as beautiful focal points in your yard, allowing you to express your creativity through design and planting choices.
7. Customizable Dimensions: They can be built to fit any size of space—great for those with small backyards or urban plots who want to maximize their greenery.
2.2 Ideal Plants for Raised Beds
When it comes to selecting what to grow in your elevated plant bed, the possibilities are endless! Here are some popular choices:
- Vegetables: Tomatoes, peppers, lettuce, and radishes thrive in these planters, providing delicious, homegrown produce that’s just a step away from your kitchen.
- Herbs: Basil, parsley, and mint flourish in elevated areas, enabling easy access for culinary adventures.

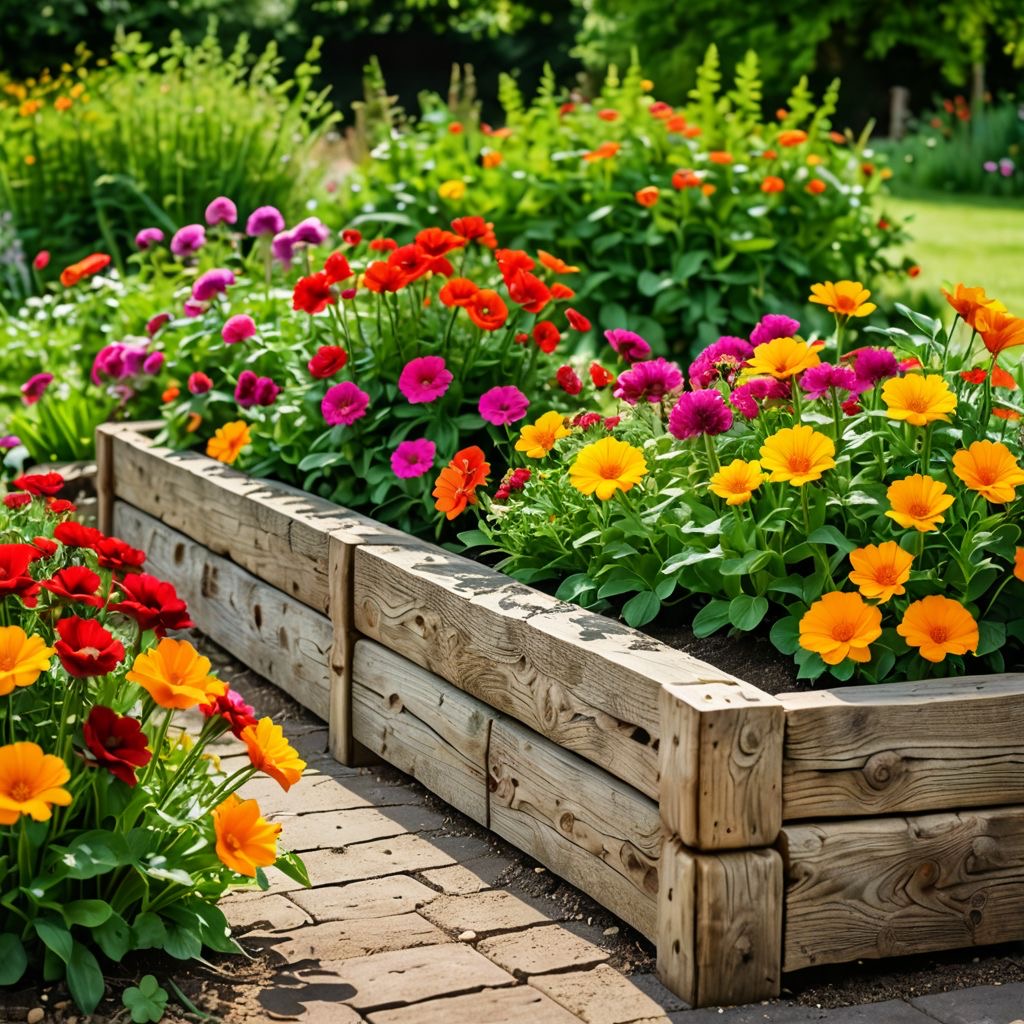
- Flowers: Brighten your space with annuals like marigolds and petunias or perennial beauties like echinacea and lavender.
Ready to transform your Winnipeg yard with 10-best perennial suggestions?
- Fruits: Strawberries, dwarf blueberries, or even melons in larger beds can yield sweet treats right at your doorstep.
By diversifying your plants, you can create a practical area while also enhancing the aesthetic beauty of your landscape.
3. Choosing the Right Location:
Contact us today for your free estimate.
3.1 Assessing Sunlight Exposure
Selecting the right location for your elevated bed is crucial for vibrant growth. Most plants require 6 to 8 hours of sunlight per day, so choose a sun-soaked spot in your yard that basks in sunlight. Keep in mind that surrounding trees, fences, or buildings may cast shadows that could hinder the growth of your plants. Consider documenting sunlight patterns throughout the day to identify the sunniest areas.
3.2 Drainage Considerations
Effective water drainage is paramount for thriving plants. Avoid low spots in your yard where water tends to pool after heavy rain. If your yard generally suffers from poor drainage, consider placing your elevated bed on a slope to promote natural water runoff. Alternatively, you can amend the soil with organic matter to improve drainage capabilities.
3.3 Proximity to Water
You’ll want your elevated planting bed to be close to a water source. Dragging a hose across your yard can turn a simple watering session into a full-blown workout. If possible, place your bed near your water source, allowing it easy access to water for optimal growth. A nearby garden hose or a drip irrigation system can be a game-changer for convenience.
4. Materials Needed for Your Garden Project:
4.1 Selecting the Right Wood
The materials you choose will influence both durability and aesthetics. Here are some top options for the framework:
- Cedar: Naturally resistant to rot and pests, cedar typically lasts for 10-20 years, making it a top choice for elevated beds.
- Redwood: Similar to cedar, redwood is highly resistant to decay, adding a classic charm to your elevated bed.
- Untreated Pine: An economical option, untreated pine can be used for temporary beds but may only last 3-7 years.
-Reclaimed: reclaimed wood can add rustic charm to certain landscape designs and can be quite economical.
- Composite Materials: If you prefer a more modern look, composite decking materials are also available. They’re durable, resistant to insects, and won't splinter, offering a sleek finish.
4.2 Additional Material Options
If you're feeling creative or wish to repurpose materials, you can consider:
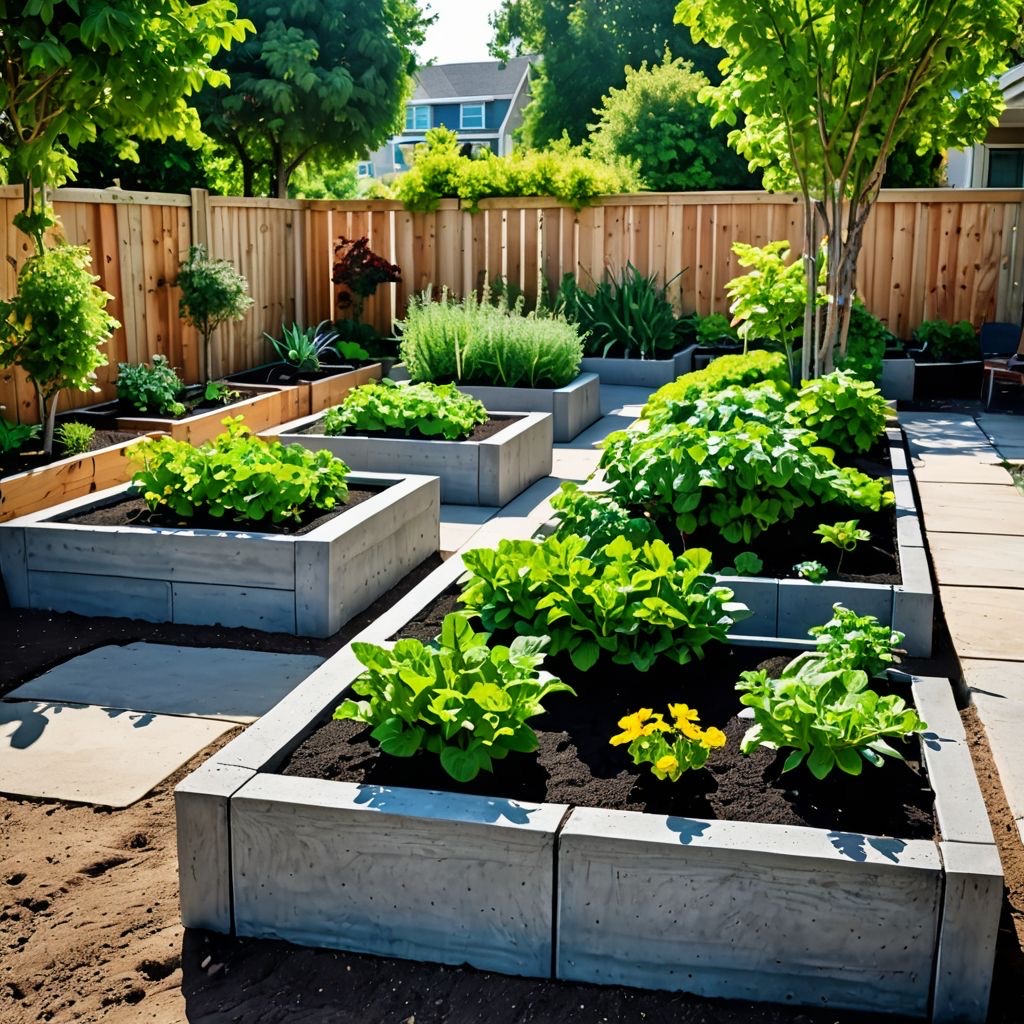
- Concrete Blocks: These can create a modern look and are easy to assemble. They provide unique aesthetics while offering strong durability.
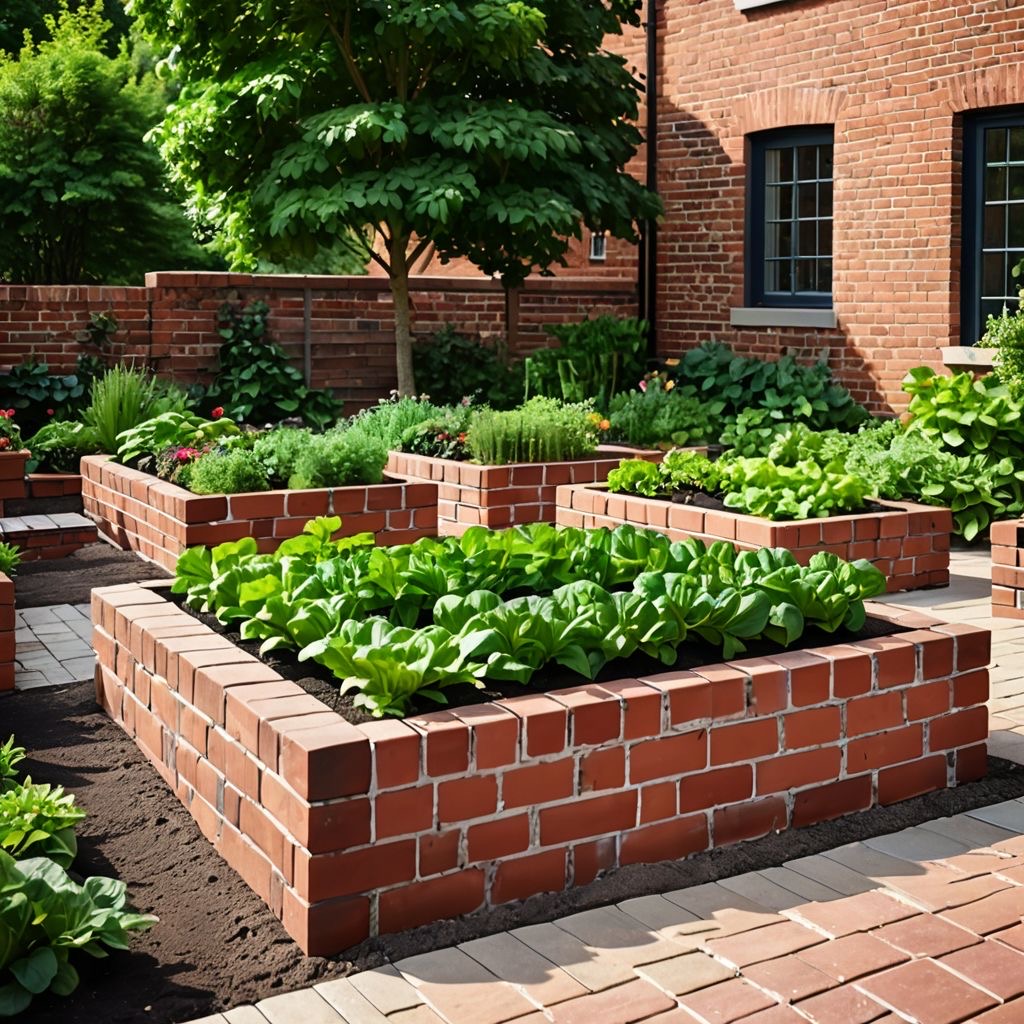
- Bricks: For the rustic charm, brick beds add a decorative touch while providing sturdy structure and reflecting warmth.
- Metal: Corrugated steel or aluminum beds can introduce a stunning industrial look but ensure they don’t retain excessive heat which can affect soil temperatures.
4.3 Tools Required
Before you start building, ensure you have the right tools on hand to make construction a breeze:
- Measuring Tape
- Saw (hand or power)
- Drill
- Hammer
- Level
- Shovel
- Rake
Having these tools ready ensures you don’t hit any snags while assembling your elevated structure.
5. Step-by-Step Instructions to Create Your Raised Planter:
Ready to chat about your landscaping goals?

Reach out by call or text to: 204-229-9789 or click here to submit your information today to arrange a “no obligation” introductory phone call. We look forward to helping you transform your yard.
Tips on how to prepare for a consultation meeting with a landscape contractor
Contact us today for your free estimate.
5.1 Planning Your Design
Start by sketching out your vision. Determine the dimensions of your elevated planting bed. A common size is 4 feet wide by 8 feet long, which provides ample planting area without requiring significant physical strain during maintenance. Aim to keep the width no more than 4 feet, so you can easily reach the center for planting and maintenance. Consider the height as well, as a taller frame may be more comfortable for gardening tasks.
5.2 Preparing the Site
Once you have your design ready, it’s time to prepare the site. Clear away any grass, weeds, or debris from the intended placement area. You can mark the corners with stakes or spray paint to visualize the base better. Level the area to ensure your elevated bed sits evenly, promoting drainage and plant health.
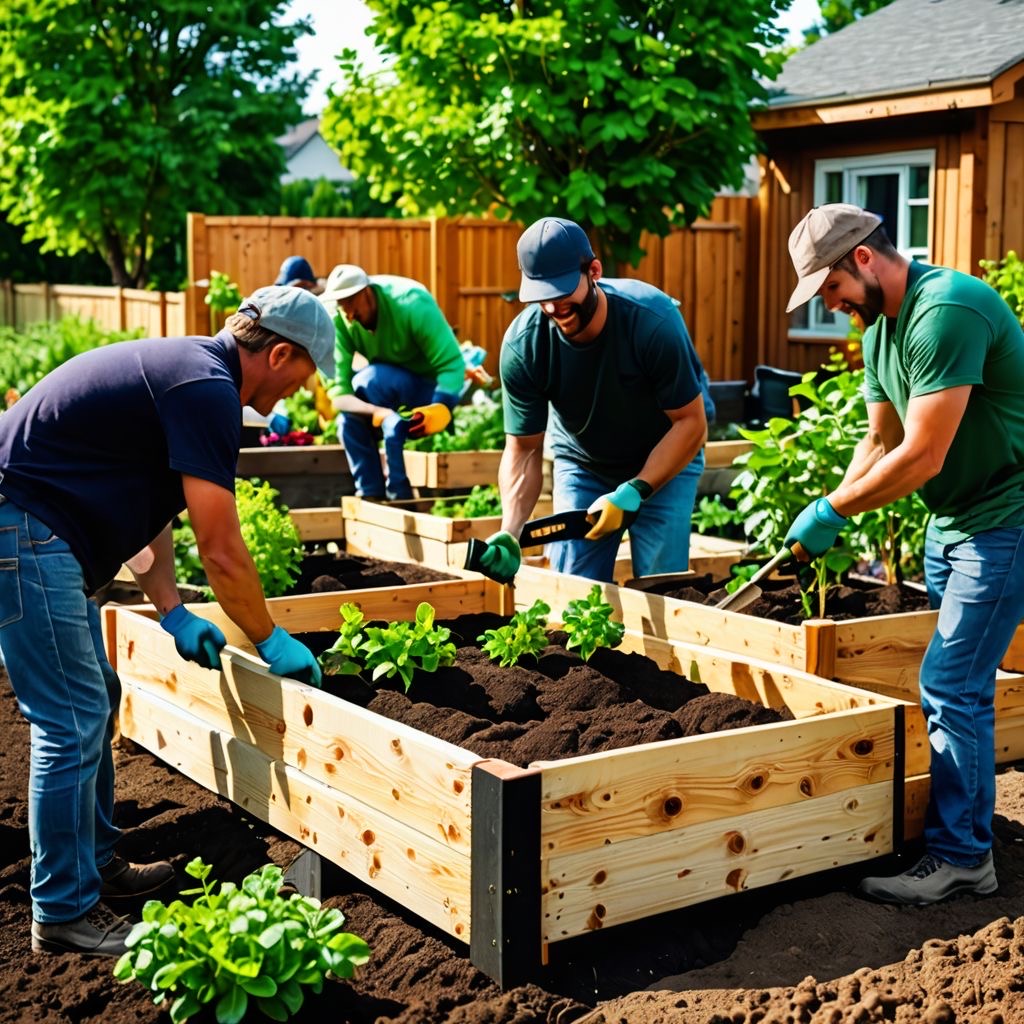
5.3 Constructing the Frame
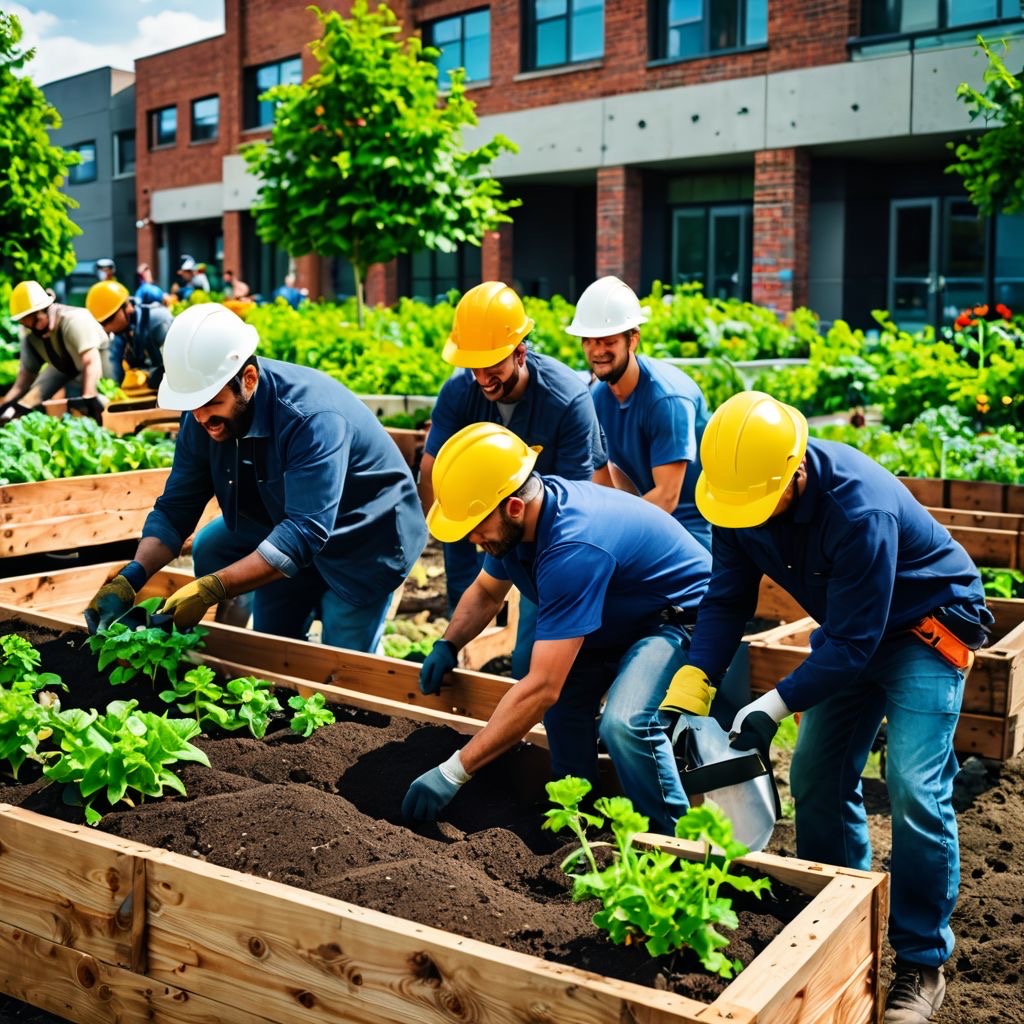
Using the selected wood, cut your pieces to size. Here’s a simple guide for a standard 4x8 elevated planter:
- Cut four pieces for the sides: two at 4 feet and two at 8 feet.
- Assemble the frame by creating a rectangle, securing the corners with screws or brackets.
Ensure it is level and square by measuring the diagonals; they should be equal.
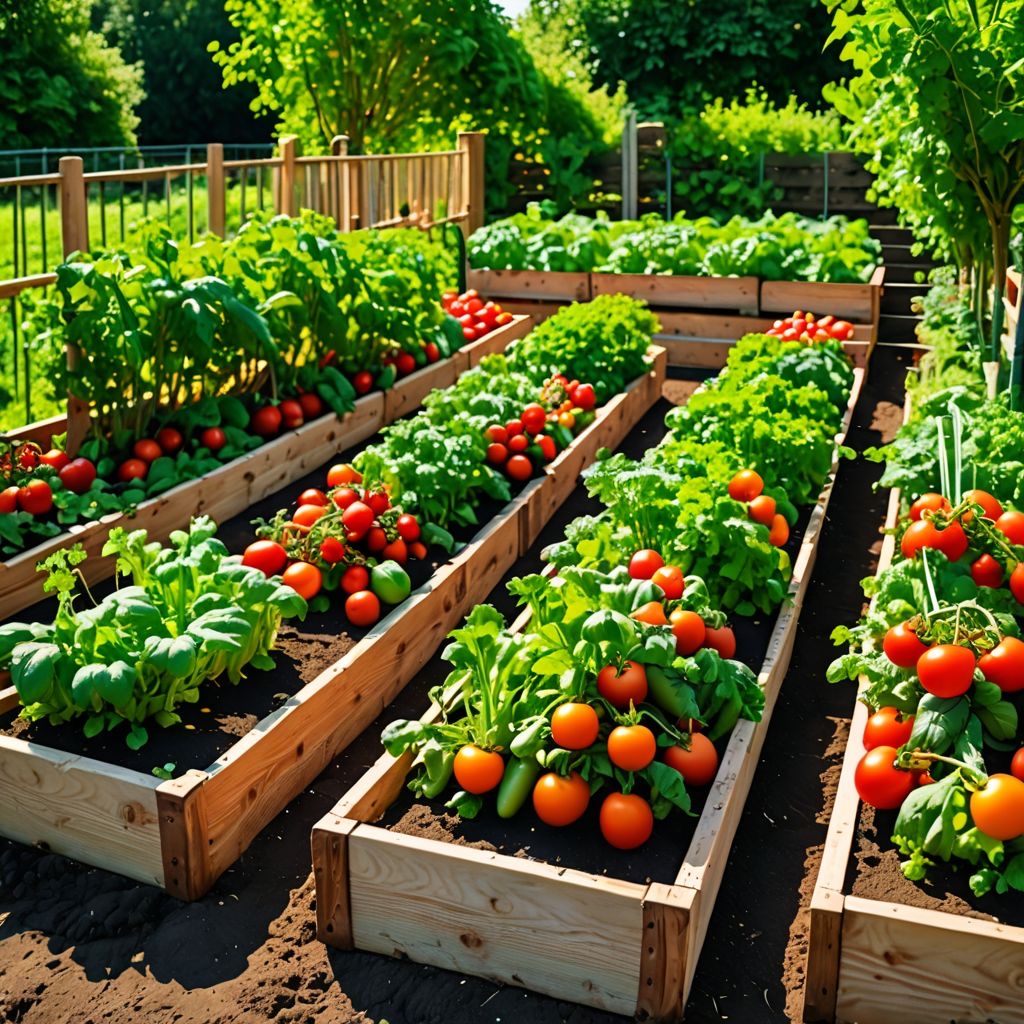
5.4 Adding Layers of Soil and Compost
Once your frame is built and placed in your prepared location, it's time for the real magic: filling your planter! Start by adding a layer of cardboard or landscaping fabric at the bottom. This helps suppress weeds and retain moisture.
Next, create a mixture of quality top soil, compost, and other organic material to fill the area. A typical ratio is about 50% top soil, 30% compost, and 20% additional organic matter like peat moss or coconut coir. This combination ensures excellent drainage and nutrient content, providing your plants with the ideal environment.
5.5 Planting Your Seeds or Seedlings
Once filled, allow your soil to settle for a day or two, and then it’s time to plant! If you’re starting from seeds, follow the packet instructions for specific planting depths. If you’re utilizing seedlings, remove them from their containers, gently loosen the root ball, and place them in the prepared holes. Water generously after planting to encourage good root establishment.

6. Maintaining Your Garden:
6.1 Watering Techniques
Effective watering is a key part of ensuring successful growth. A general guideline is to water deeply but infrequently. This promotes deep root growth, enhancing drought resistance. During the hot days of summer, check your planter every few days to assess moisture levels.
Using a soaker hose or drip irrigation system can help save time and ensure even distribution of water without soaking foliage.
6.2 Fertilizing Your Plants
Regular fertilization is crucial for boosting nutrients in your elevated planting area. Opt for organic fertilizers such as compost or well-composted manure to keep your plants nourished. You can also explore options like fish emulsion or organic granules to provide key nutrients gradually.
Always follow the instructions on your fertilizer for proper dosage to avoid over-fertilizing, which can harm your plants over time.
6.3 Pest Control Solutions
Insects and pests can pose a threat to your lush paradise, but fear not! Use Integrated Pest Management (IPM) techniques to address this problem efficiently. Encouraging natural predators, like ladybugs or lacewings, can help keep pest populations in check.
For invasive pests, consider organic insecticidal soap or neem oil sprays. At the first sign of trouble, take immediate action to protect your crops and maintain your thriving green space.
Surprising every day kitchen helpers to keep pests and weeds at bay and to improve your soil.
7. Winter Preparation for Your Elevated Plant Bed:
7.1 Protecting Plants from Frost
As cold weather approaches, it’s essential to prepare your elevated planter for winter. Depending on the hardiness of your plants, you may want to cover tender specimens or even consider planting cold-hardy crops such as spinach or garlic for winter harvests.
Implementing row covers is a good practice, as they help retain warmth while allowing light and moisture to penetrate.
7.2 Covering the Bed
Before the deep frost sets in, consider adding a thick layer of mulch over your soil. This can be straw, leaves, or wood chips. Mulch not only helps to moderate soil temperature but also prevents erosion and suppresses weeds.
In extreme cold, you may want to build a simple frame for a plastic cover, creating a mini greenhouse effect to protect more delicate plants.
Contact us today for your free estimate.