Table of Contents:
1. Introduction
2. Clearing Your Site
1. Assessing Your Space
2. Removing Debris
3. Grass and Weeds
4. Roots and Rocks
3. Rough and Finish Grading
1. Understanding Landscape Drainage
2. Grading Techniques
3. Final Grading Touches
4. Soil Preparation
1. The Importance of Soil Health
2. Tilling and Amending Your Soil
3. Step-by-Step Instructions for Soil Amending
4. Choosing the Right Compost
5. Checking Soil Quality
5. Tools and Equipment
6. Winnipeg’s Clay-Based Soil Type
1. Characteristics and Challenges
2. Best Practices for Clay Soil
7. The Best and Worst Ways to Prep Soil for Sod
1. 10 Common Mistakes
8. Timing is Everything
1. Best Times to Lay Sod
2. Why Choose Sod Over Seed
9. Hiring a Contractor vs. DIY
1. Contractor Insights
2. DIY Expectations
10. Budgeting for Your Project
11. Conclusion
1. Introduction:
As any seasoned gardener or ambitious homeowner knows, a beautiful lawn starts with a solid foundation. If you're planning to install sod in your Winnipeg yard, you'll want to roll up your sleeves and dive into the nitty-gritty of preparation. Why? Because while sod may seem like a quick fix for that drab patch of dirt outside your window, the success of your new lawn hinges on the work you do before laying it down. As many homeowners have learned through experience, a quality paint project is pretty much dependent on top-notch preparation before the painting begins. Installing sod in your yard is very much the same! Very much “Prep dependent.”
Picture this: You've got a sunny Saturday ahead, and you've invited friends over for a barbecue. Imagine their faces as they step onto your lush, green carpet—only to find a patchy, weedy mess instead. Yikes! The key to keeping that from happening lies in preparing your yard meticulously. From addressing drainage issues—with good reason, as folks in Winnipeg will tell you tales of woe about overland water insurance claims—to understanding your soil's quirks, we’re breaking it all down so you can impress your guests (and yourself) with a stunning sod installation.
But don't worry—I'm not here to overwhelm you with a ton of technical jargon and confusing terms. Instead, think of this as your friendly neighborhood guide to thickening your greening grass and ditching those unruly weeds. We'll stroll together through the steps to take, the tools you’ll need, and a few cheeky tips on how to avoid becoming one of the "ten most common mistakes made when preparing soil for sod" (trust me, we've all been there).
So, whether you're a homeowner eyeing the yard for that perfect outdoor retreat or a commercial property manager looking for a robust landscape upgrade, grab a cup of coffee, kick back, and let’s get your space ready for that glorious sod adventure!

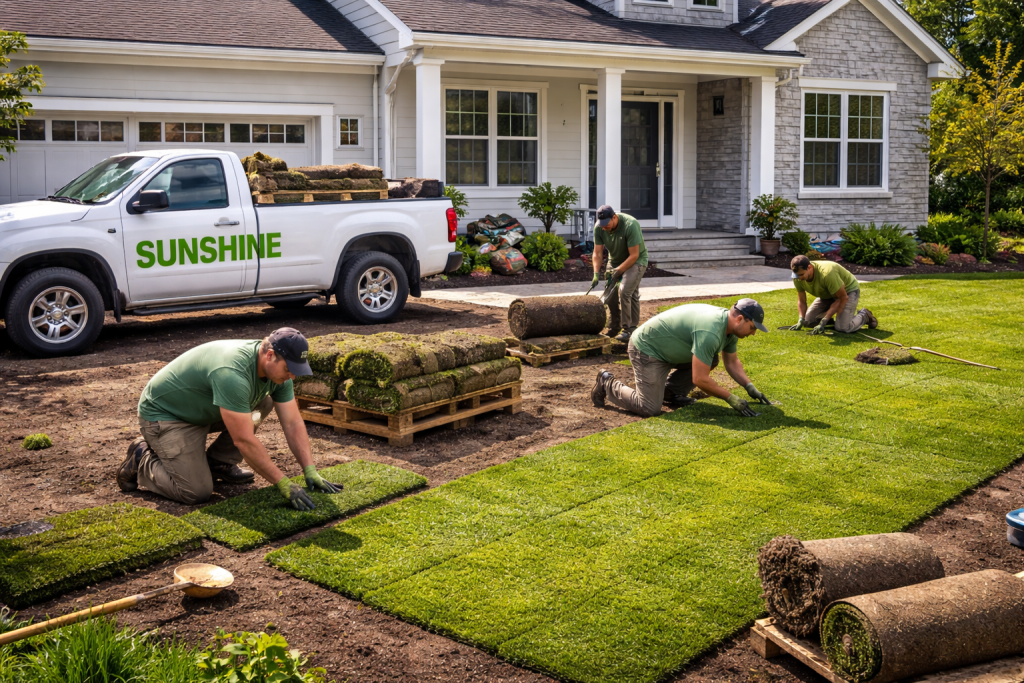
2. Clearing Your Site:
2.1 Assessing Your Space
First things first: before you start swinging a shovel, it’s vital to assess your space. Do you have any trees or shrubs that might be in the way? What about those random stones that always seem to pop up, even when you think the ground is clear? Start by walking around your yard and taking stock. Make a plan for where the sod will go and visualize how your space will look. This step will save you a lot of headaches down the line.
2.2 Removing Debris
Time for a clean-up is overdue

You’ll want to clear your site of all debris, including sticks, stones, and any leftover remnants of last year’s project. Think of this as your mini spring cleaning! Not only does it make for a smoother installation, but it also gives you a chance to explore your yard and reconnect with those squirrels that insist on darting away whenever you step outside. Use a rake to clear the surface and get your yard in prime shape. If you're facing stubborn bushes or roots, a shovel or pickaxe can help you dig those out. Remember, this is about doing a thorough job—if you leave any debris behind, it could undermine the success of your sod.
2.3 Grass and Weeds
While you're assessing your space, take note of any grass or weeds you might want to get rid of. It's tempting to think, “Oh, I can just lay sod over that.” Trust me, that’s a trap for disappointment! Weeds can sneak their way through sod, leading to an uneven lawn where unwanted foliage asserts dominance. If you haven't already done so, consider using a non-selective herbicide to kill existing grass and weeds. Just be sure to follow the manufacturer's guidelines and allow sufficient time for the chemicals to break down before you lay your sod.
2.4 Roots and Rocks
Stone checks and root removals are next on your checklist. Large stones can act as barriers for sod roots, and stubborn roots could make an otherwise flat area lumpy. Getting rid of everything during the preparation phase means you’re making a commitment to a strong start. Use a shovel or your hands (gloved, of course) to clear out rocks and roots, ensuring you’re working with a level base. It might feel like an old-fashioned treasure hunt! Just remember that any hard-to-miss boulders could turn into unique garden ornaments later on.
3. Rough and Finish Grading
3.1 Understanding Drainage:
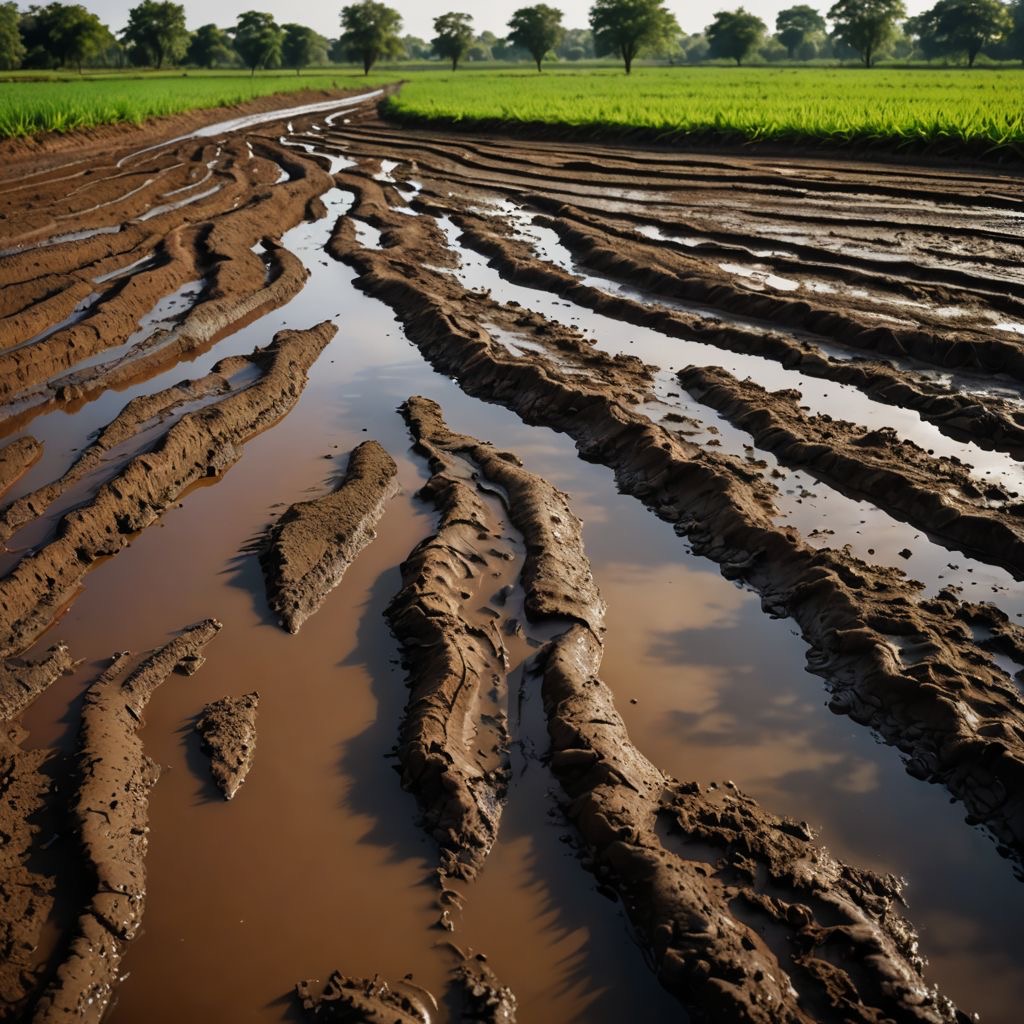
Proper grading will direct pooling water away from your home's foundation
Ah, drainage—the unsung hero of any lawn. In Winnipeg, proper grading is essential not just for aesthetics but to prevent water from pooling around your property. Standing water is a breeding ground for mosquitoes and can lead to expensive overland water insurance claims down the line. The rule of thumb is to grade your yard so that the water drains away from your home and any structures, like your garage. The ideal slope is a 1% grade, which means a 1-foot drop for every 100 feet.
Read more about grading and water drainage through landscape design in Winnipeg
3.2 Grading Techniques
There are two main stages of grading: rough grading and finish grading.
- Rough Grading: This stage involves moving larger amounts of soil to establish the general shape of your landscape. Use a shovel, a grub hoe, or a landscaping rake to create the base level. This is the time to fill in any low spots and cut down high spots.
- Finish Grading: Once you've got your rough grade established, it’s time to refine your work. You’ll want to ensure your surface has a nice, smooth finish. A leveling rake can help here; just be sure to check for any remaining dips or bumps—your sod will be very good at showing those off!
3.3 Final Grading Touches:
Before placing your sod, perform a final evaluation of your graded area. Use a landscape level or a string line to confirm your grades are proper. Give everything one last raking to smooth the surface. This is also a good time to re-evaluate your drainage strategy. Are low areas still pooling water? Is there an ample slope away from your home? Make those final adjustments to avoid any possible drainage issues before the sod goes down. It’s like putting on that finishing touch of lipstick—important enough to make a difference!
Pooling water for breeding mosquitoes. No Thanks!

4. Soil Preparation:
4.1 The Importance of Soil Health for your Winnipeg landscape project
Healthy soil is like a healthy body—it needs the right nutrients and care to thrive. Preparing your soil is akin to preparing your home for guests. If the foundation is weak or dirty, it sets a poor stage for the beauty you plan to achieve later on. Before laying down sod, conduct a soil test to determine its nutrient composition and pH levels. Not all soil is created equal, and in Winnipeg, you’re likely dealing with that infamous clay, which can compact and hinder growth.
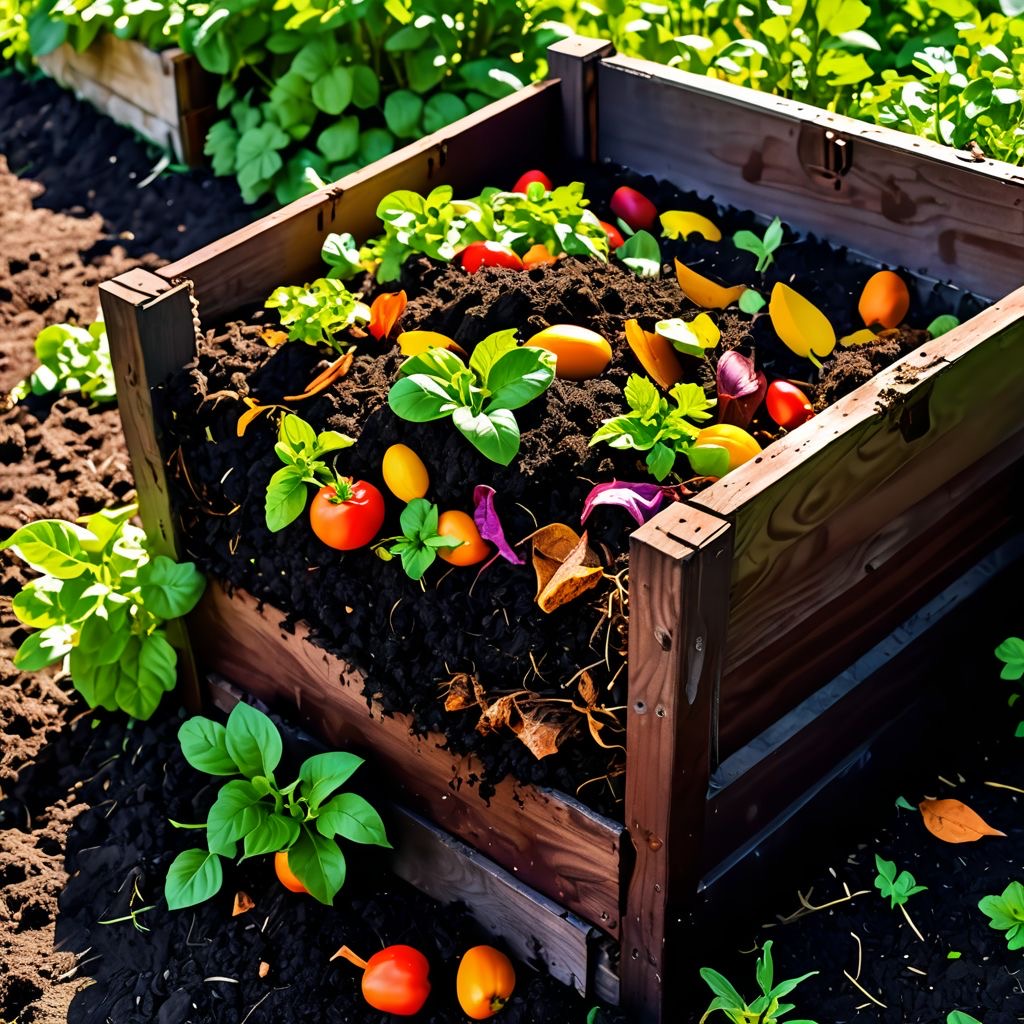
Amending soil in preparation for the sod.

4.2 Tilling and Amending Your Soil:
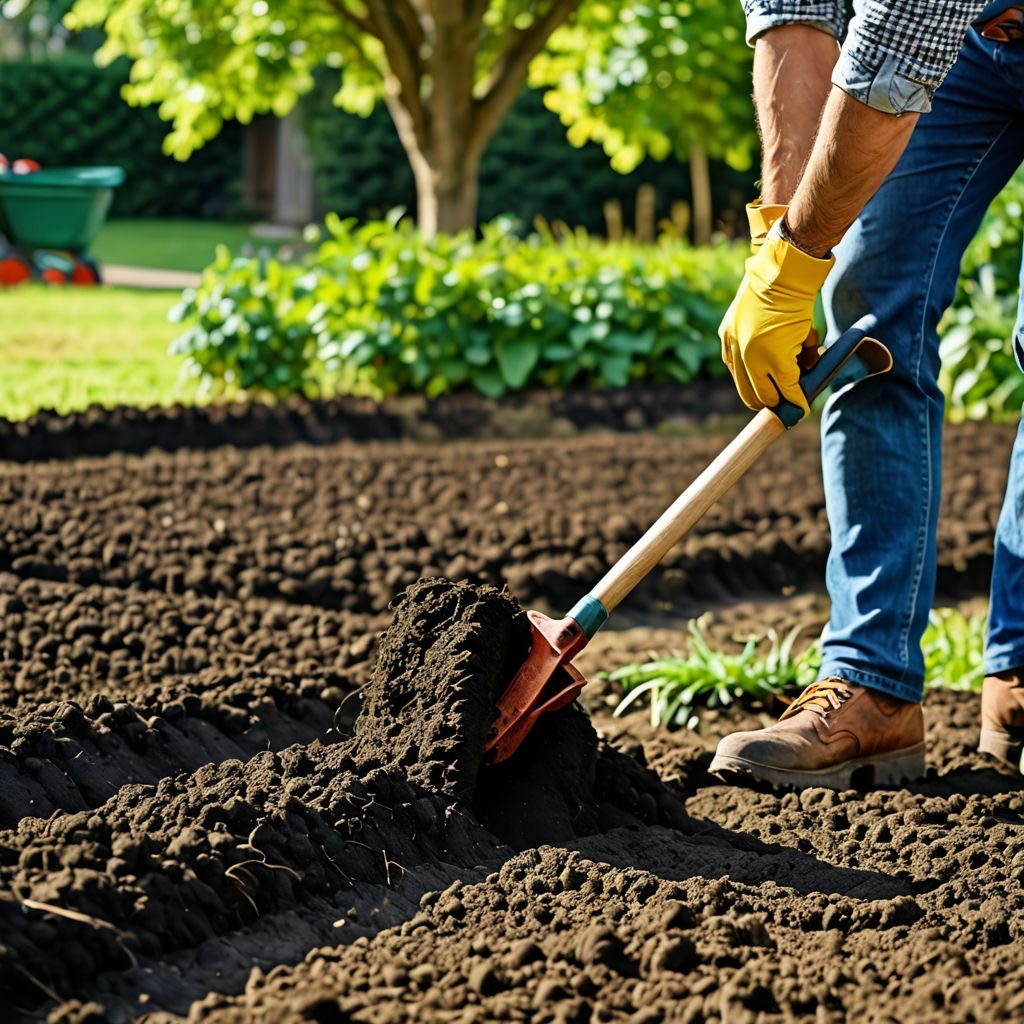
Once you’ve assessed your soil, it’s time to amend it. Tilling the soil helps aerate it and incorporate any organic matter you decide to add later (more on that in a minute). Use a rototiller or a garden fork to break up and loosen the soil to a depth of about 4 to 6 inches. This prep time gives your sod the best chance to take root and flourish.
4.3 Step-by-Step Instructions for Soil Amending:

1. Test the pH A simple kit can tell you if your soil is acidic or alkaline. Aim for a pH around 6.0 to 7.0 for optimal grass growth.
2. Add Organic Matter: Depending on the test results, you may want to add organic matter. Compost is a fantastic option—ideally, about 2 to 3 inches spread over your tilled soil.
3. Till It Together: Mix the compost into the existing soil, ensuring even distribution of nutrients. This is like feeding your lawn a wholesome meal instead of fast food!
4. Water Lightly: Lightly moisten the area to help settle the soil—think of it as a gentle rain before the sod moves in—but avoid making it muddy!
4.4 Choosing the Right Compost:
When considering compost, it's essential to select a high-quality type. You can choose from local options or even make your own if you have a composting system in place. Look for compost that is dark, crumbly, and has an earthy smell. Avoid compost that’s overly damp or has a foul odor, as it may harbor pathogens. If you don’t have access to good compost, garden centers typically offer quality products, making it easy to purchase the nutrients you need.
4.5 Checking Soil Quality:
After tilling and amending your soil, don’t skip the final quality check! Grab a handful of soil, squeeze it, and see how it behaves. If it crumbles apart easily, that's great. If it stays compacted like a clay ball, you might need to add more organic material and till again. The aim is to create a media that allows roots to grow freely while retaining moisture without waterlogging.
5. Tools and Equipment
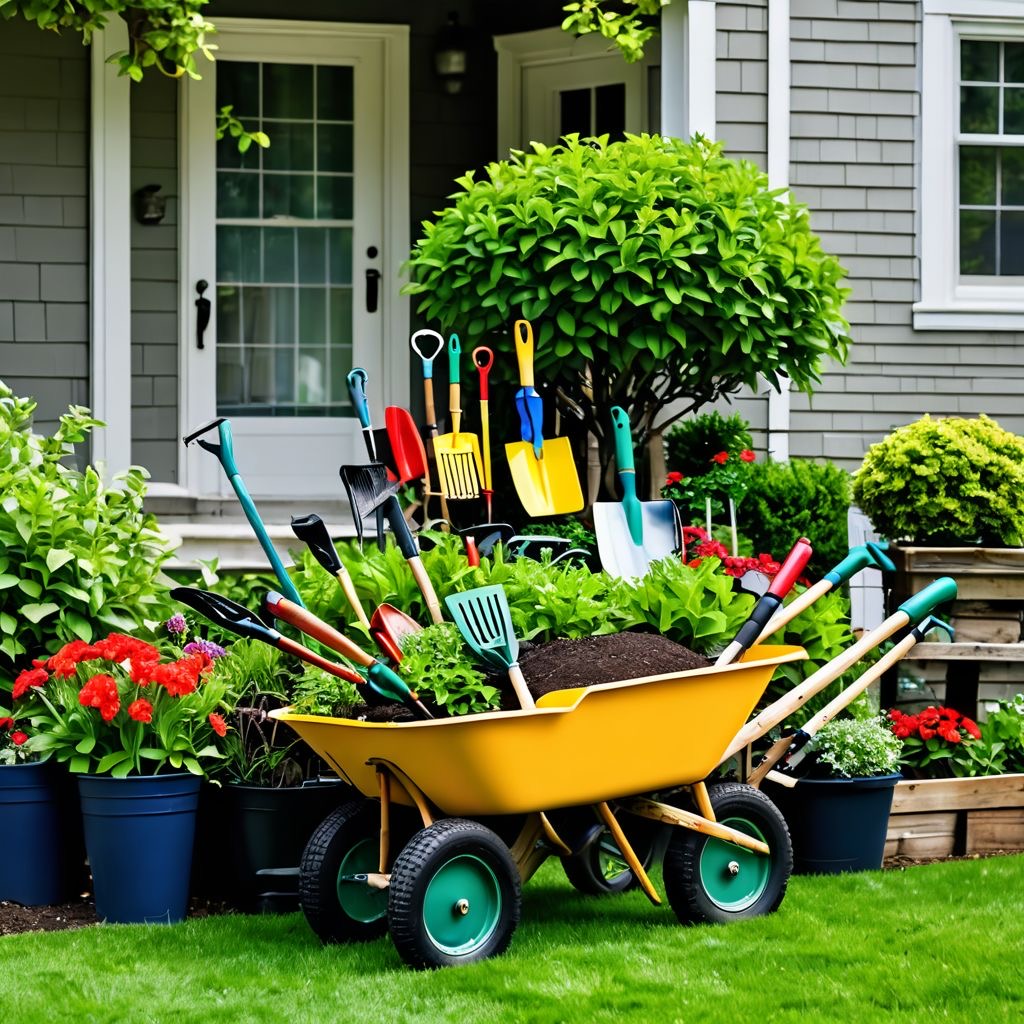
A successful sod installation also relies heavily on having the right tools. Here’s a non-exhaustive list of essential gardening tools you’ll need:
- Rakes: For leveling and smoothing.
- Shovels: For digging and moving soil.
- Rototiller: For breaking up compacted soil.
- Garden Fork: For aerating and loosening.
- Leveling Rake: For fine-tuning the final grading.
- Soil Test Kit: Essential for understanding soil health.
- Garden Hose: For watering and moistening soil.

- Sod Roller or Hand Roller: Helps to make sure the sod sections make good contact with the soil.
Investing in quality tools can make your life easier and the job much more manageable. It’s like having the right utensils when cooking—good tools yield better results!
6. Winnipeg’s Clay-Based Soil Type:
6.1 Characteristics and Challenges
Winnipeg's predominant clay soil presents unique challenges. While it retains moisture well, it also compacts easily, which can lead to poor drainage and root growth. However, the good news is that with a little effort, you can amend this soil type for healthier grass growth.
Clay soil has a structure that holds water tightly, leading to puddling and making it hard for nutrients to reach the grass roots. To overcome the challenges posed by clay soil, you'll want to follow the amendments mentioned earlier and ensure good drainage is a top priority. Ideally, the root zone should have a looser texture to encourage air circulation and moisture retention without the pesky pooling.
6.2 Best Practices for Clay Soil:
To make the most out of your clay soil:
- Incorporate Organic Matter: As we discussed earlier, compost helps lighten up that dense clay. This is one of the simplest and most effective methods to improve soil health.
- Aerate Regularly: Use a garden fork or rented soil aerator once or twice a year to break up compacted soil, which allows air, nutrients, and water to penetrate deeper.
- Maintain Soil Health: Apply mulches, organic fertilizers, and amendments on a periodic basis. Keeping the soil content fresh and nutrient-rich will help foster a vibrant lawn.
7. The Best and Worst Ways to Prep Soil for Sod:
7.1 10 Common Mistakes
Starting a project like this can often involve some missteps. Here are the ten most common mistakes people make when prepping their soil (and how to avoid them):
1. Neglecting Soil Testing: Not testing your soil means you’re flying blind when it comes to amendments. Always perform a test well ahead of time.
2. Insufficient Debris Removal: Leaving sticks or rocks can hinder growth. Make sure to clear everything properly.
3. Improper Grading: Not achieving the correct slope leads to water pooling. Remember that one percent slope away from your houses is essential!
4. Ignoring Clay Compaction: Failing to amend clay can suffocate roots. Incorporate compost and consider aerating.
5. Using Too Much Compost: While compost is beneficial, too much can lead to nutrient overload. Stick to two or three inches when mixing.
6. Skipping Tilling: Not tilling leads to compacted soil that resists root growth. Always loosen the soil.
7. Incorrect Watering: Overwatering can lead to muddy conditions; underwatering can dry the surface. Keep it moist but not soggy.
8. Timing Mistakes: Laying sod too early in the spring or late in the fall can hinder growth. Aim for those prime seasons we discussed earlier.
9. Not Rolling the Soil: Rolling improves contact between sod and soil, promoting root establishment. Utilize a sod roller for best results.
10. Ignoring Sunlight Needs: Different sod varieties have varying sunlight needs; choosing the wrong type will lead to patchy turf.
Avoid these pitfalls, and you'll be well on your way to a stunning lawn transformation!
8. Timing is Everything:
8.1 Best Times to Lay Sod
When it comes to sod installation, timing can significantly influence your success. The best times to lay sod in Winnipeg are typically in early spring (late April to early June) or early fall (late August to mid-September). During these seasons, temperatures are milder, and the chance of heat stress is reduced. Trying to install sod during the hot summer months is like trying to fry an egg on the sidewalk—better keep the temperature down for a tasty result!
8.2 Why Choose Sod Over Seed
Now, you might be wondering, “Why should I sod instead of planting grass seed?” Great question! Here’s the scoop:
- Immediate Results: Sod gives you a lush appearance right away, while seed takes time (and some patience).
- Less Erosion: Sod reduces soil erosion around your yard.
- Weeds: Sod establishes faster, choking out weeds nearly immediately compared to the slower process of germination from seeds.
- Faster Growth: Established sod can root more quickly into your amended soil, reducing the window of time where failure is possible.
Understanding the differences between sod and seed allows you to make a more informed decision for your yard.
9. Hiring a Contractor vs. DIY:
9.1 Contractor Insights.
 .
.
We've done this before!
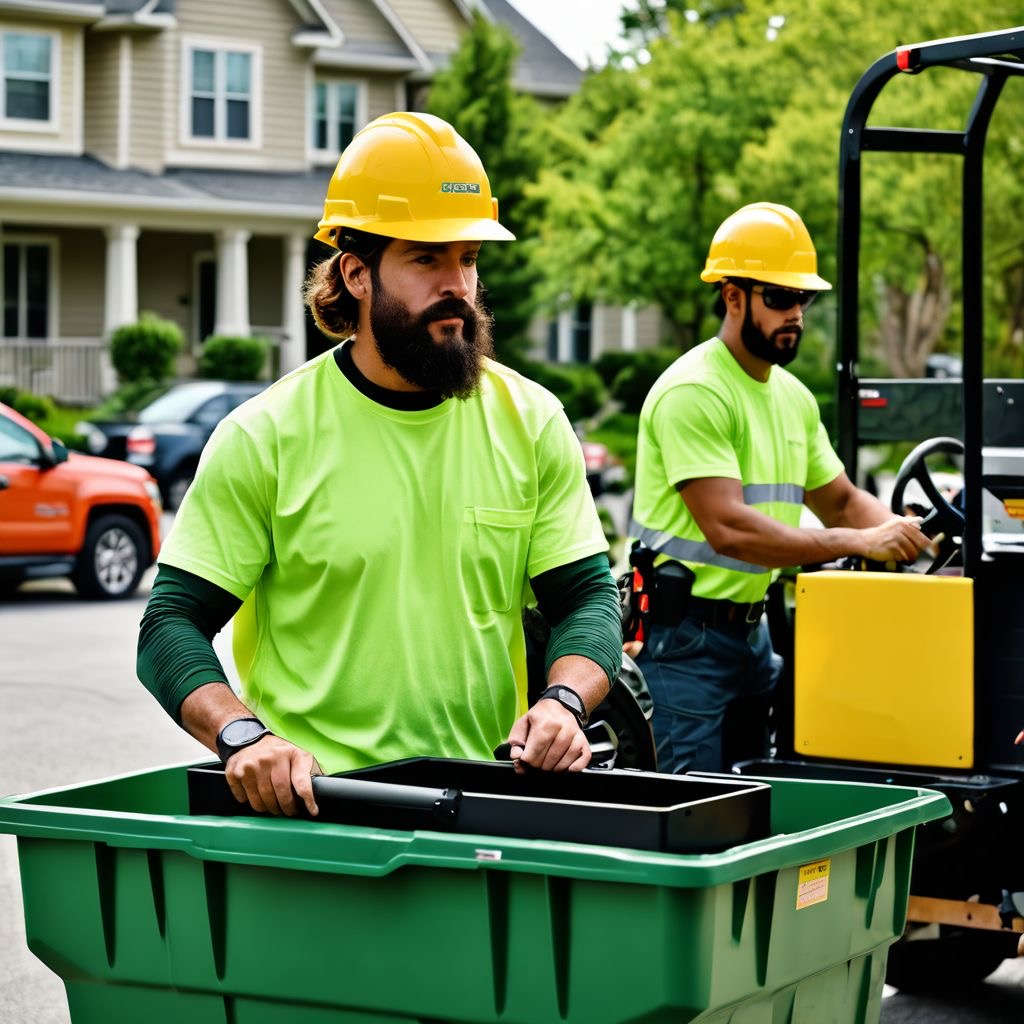
If you feel a little overwhelmed by the prospect of DIY, it might be time to call in a contractor. They bring expertise and knowledge to the table, plus the right equipment. Ensure that you’re hiring a reputable contractor by checking reviews and asking for references. Remember, a well-done sod installation can add significant value to your property, and professionals usually know how to handle Winnipeg's tricky soil and drainage issues effectively.
9.2 DIY Expectations
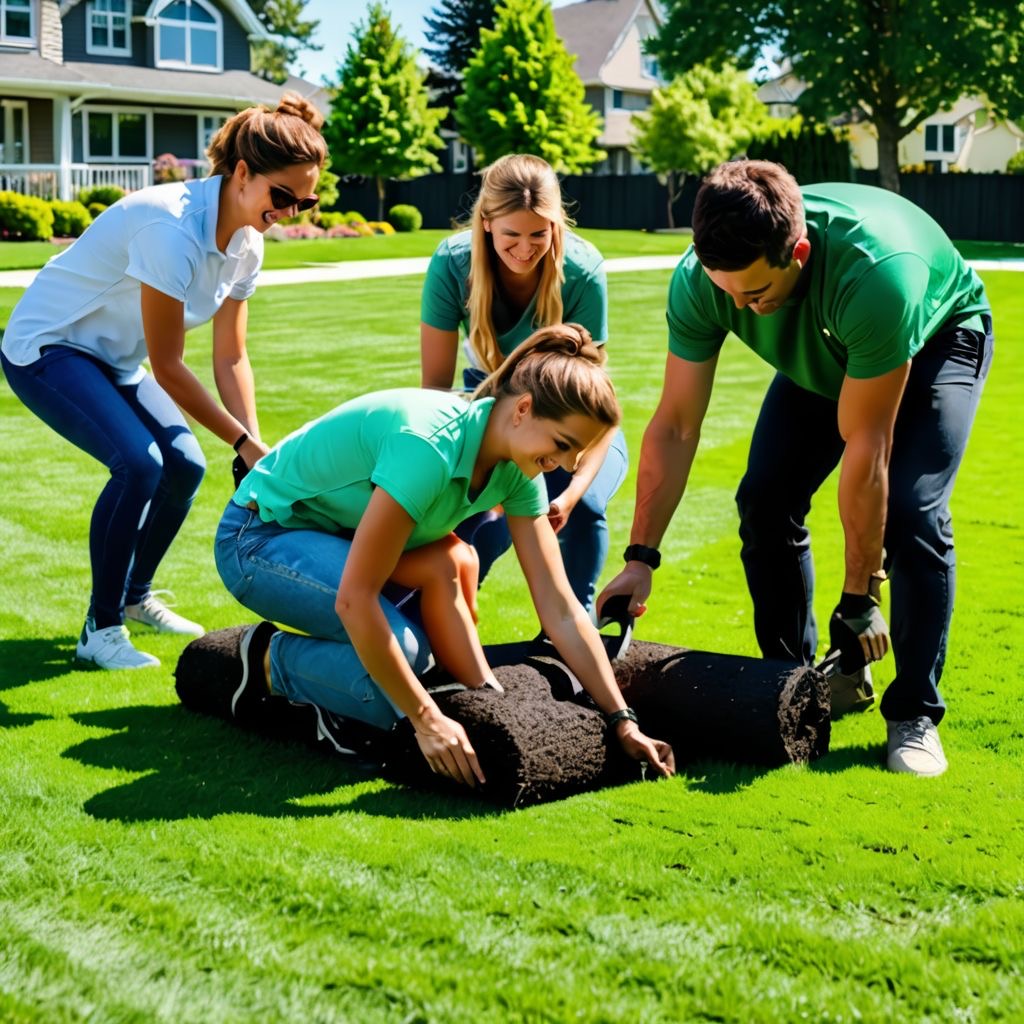
If you’re opting to DIY, it's essential to set realistic expectations. That means understanding how many hours (and sore muscles) you might accrue. Preparing a 5,000 square foot area can take anywhere from 8 to 18 hours of steady labour, depending on your stamina, the tools you have, and the original state of your yard. Breaking it up into manageable chunks can help, especially if you spread it over several no-rain weekends.
Perhaps make a fun day of it as well, inviting friends over to help in exchange for pizza and drinks. After all, tackling sod preparation might be a bit of a workout, but it can also be a bonding experience. Plus, there's something wonderfully satisfying about working together toward a common goal. Just make sure to assign tasks based on your friends' skill levels—some may be better at raking, while others may excel at heavy lifting!
And, remember that if you have a group of friends over to help you with your landscape project, It will be fair to have those friends expect you to reciprocate when they need a hand.
10. Budgeting for Your Project:
Before you kick off this sod adventure, make sure you've got a budget in place. Here's a simple breakdown of potential costs:
1. Soil Preparation (DIY): Expect to spend about 70 - $200 for tools and amendments, depending on your chosen materials.
2. Hiring a Contractor: Costs typically range from $1 to $2 per square foot, including soil prep and sod installation. For a 5,000 square foot area, you might be looking at about $5,000 to $10,000 in total.
3. Sod Costs: Sod costs typically range from $0.75 to $1.00 per square foot, depending on the sod variety you choose. For the same 5,000 square foot area, that adds up to anywhere from $3,500 to $5,000.
4. Additional Costs: Don’t forget to factor in other expenses like soil testing kits, herbicides for weed control, and potential equipment rentals. Every little bit adds up!
Having a clear budget helps you avoid unpleasant surprises and ensures you enjoy your new lawn without financial stress. Always make a list, compare quotes, and reconsider the impact of a well-laid sod on your property value. Quality usually services its worth!
Learn about caring for your newly planted sod.
11. Conclusion:
So there you have it! You've just unlocked the secrets to preparing your Winnipeg yard for a sod installation that will leave your neighbors green with envy. From clearing debris to understanding the importance of proper grading and soil preparation, every step in this process is vital to creating a thriving lawn. As you embark on your sod adventure, keep in mind the common pitfalls to avoid, the best time to lay your sod, and whether you’re tackling this project solo or bringing in a pro.
Remember, the hard work you put into preparing your site will pay off in a beautiful green grass carpet that you can enjoy for years to come. And whether you make that backyard the place for summer cookouts, a family playground or a serene escape from the bustle of life, you'll be reveling in the beauty right outside your door. So grab those tools, channel your inner landscaping artist, and get ready to transform your space! Happy sodding!